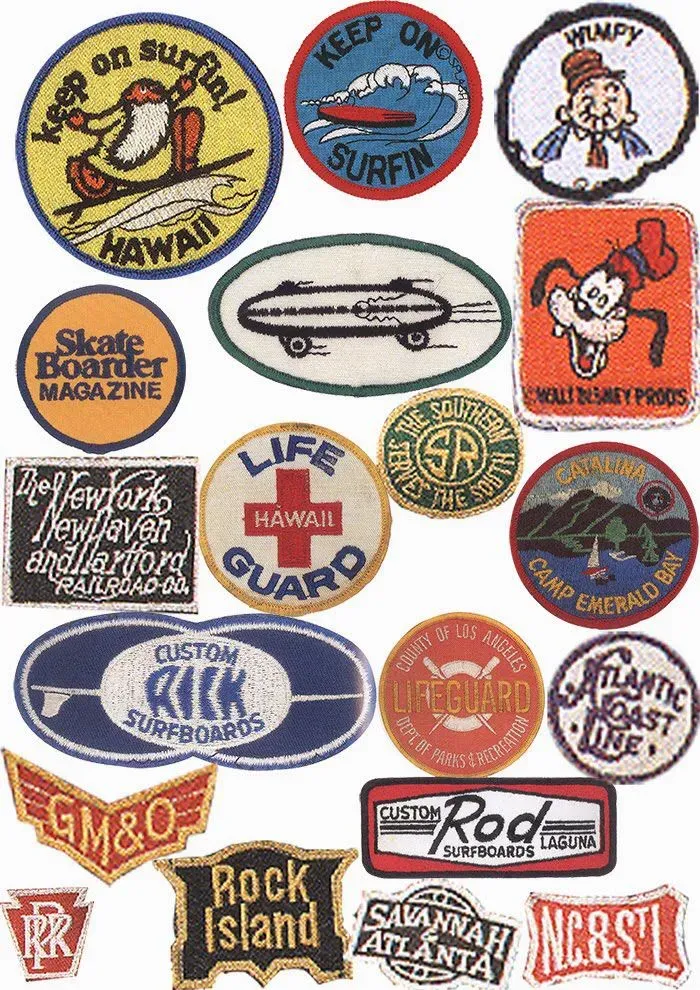
Retro patches are more than decorative accents—they’re a way to tell your story on your gear. Fans of nostalgic patches will love how vintage patch designs nod to classic graphics while staying wearable today. The realm of DIY patch ideas makes it easy to personalize jackets, backpacks, and hats with sew-on patches for lasting style. The tactile embroidery and color depth that emerge after washing give these patches a tangible charm and offer practical patch embroidery tips in practice. Whether you’re refreshing an item or starting a new project, these patches offer style, sustainability, and a canvas for personal storytelling.
For many crafters, these nostalgia-inspired fabric badges become a way to celebrate memory-rich moments on everyday outfits. These timeless embellishments—often called vintage patch designs or classic embroidered badges—carry mood and meaning beyond simple decoration. Whether you call them sew-on patches, iron-on patches, or woven badges, the idea remains the same: personalize gear with durable, story-driven accents. A growing DIY patch culture invites you to mix and match related motifs, layering designs to reflect music, travel, or personal milestones. As you explore, consider how these nostalgic patches can be coordinated with color, texture, and era-specific typography to craft a cohesive look.
Retro Patches: Crafting a Personal, Timeless Look
Retro patches are more than decorative accents—they’re a form of wearable storytelling that can transform jackets, backpacks, hats, and more. By combining nostalgic patches with vintage patch designs, you invoke decades of mood, culture, and design cues—without sacrificing your personal taste or gear’s functionality. This fusion of eras makes your items feel fresh, sustainable, and unique, a nod to craftspeople who value both memory and craft.
When choosing patches, consider the garment’s color, texture, and how bold you want the statement to be. For smaller areas, go with compact sew-on patches; for larger canvases like the back of a denim jacket, a bold centerpiece or a curated collage can anchor the look. Pro tip: start with a rough layout before sewing or ironing—this helps you balance nostalgia with modern style using thoughtful color harmony and storytelling.
Nostalgic Patches and Vintage Patch Designs: Crafting Cohesive Stories
Crafting a cohesive retro look means aligning nostalgic patches with vintage patch designs that share a common theme—music eras, travel motifs, or classic cartoons. Lean into a palette that contrasts or complements your base garment to ensure the patches feel deliberate rather than random. This approach uses LSI-friendly terms like nostalgic patches, vintage patch designs, and color harmony to guide the eye across the garment.
Think in layers and narratives: one focal patch anchored by a few supporting designs can tell a story without overwhelming the piece. Group related designs by color family or motif to maintain a curated vibe. By planning placement with intention, your patch collection reads as a well-told retro chapter rather than a collage of random graphics.
Sew-On Patches vs Iron-On: Durability and Application Tips
Choosing between sew-on patches and iron-on variants hinges on where the item will live and how often you wash it. Sew-on patches gain durability from stitching, especially on jackets and bags that see heavy wear, and they maintain their look after repeated laundering. Iron-on patches offer speed and convenience for quick refreshes, but their adhesive can loosen over time unless reinforced with stitching.
Practical application tips: plan your layout, prewash fabric, and use a stitching method that matches your patch backing. For iron-ons, heat-set per manufacturer instructions and then finish with a few stitches along the edges for added security. This hybrid approach gives you the best of both worlds—fast updates with lasting durability.
DIY Patch Ideas: Creative Ways to Build a Retro Patch Collection
DIY patch ideas invite you to personalize gear with one-of-a-kind retro charm. Mash-up designs—from a vintage cartoon character paired with a music logo—create story-driven pieces that catch the eye. Monochrome nostalgia, using a coordinated color family like white-on-navy or gold-on-black, can deliver a sophisticated retro vibe that feels timeless.
Push your creativity with custom sketches and fonts; have your ideas produced as embroidery patches, or craft memory boards by arranging many small patches into a panel that reflects a personal timeline. DIY patch ideas also extend to upcycling: repurposed fabrics or found patches stitched into a new arrangement give old items a fresh, story-rich life.
Patch Embroidery Tips: Keeping Nostalgic Designs Crisp
Patch embroidery tips start with prep: launder the garment to remove sizing, lay it flat, and press to remove wrinkles so your patches sit true to place. Stabilizing the fabric with a small backing prevents puckering and keeps stitches even on denim, canvas, or knit fabrics. A sharp needle and the right thread choice—polyester for durability or cotton for a softer hand—help maintain crisp lines on nostalgic designs.
Choose a stitching technique that hugs the patch edge neatly, such as a tight zigzag or merrowed edge, and finish with a backstitch along the border for security. If you expect frequent washing, consider extra edge stitches and, for iron-on patches, a post-heat setting stitch to lock the design in place. Following these patch embroidery tips yields long-lasting, vibrant retro graphics.
Care, Display, and Maintenance of Retro Patches on Everyday Gear
To keep nostalgic patches looking sharp, care rules matter as much as design. Turn garments inside out, use a gentle cycle with cold water, and avoid high heat in the dryer, which can loosen embroidery over time. For delicate fabrics, spot-clean patches and use a garment bag for storage to protect colors and textures from fading in sunlight.
Layout and display are part of care as well. When you store patched items or rotate patches across several garments, keep a simple record of what designs live on which pieces to preserve your retro aesthetic. Re-sewing loose edges and reapplying patches after life on the road keeps your vintage patch designs looking pristine for years to come.
Frequently Asked Questions
What are retro patches and why are they popular for clothing and gear?
Retro patches refer to nostalgic patches and vintage patch designs that evoke past eras. They offer personal storytelling, tactile embroidery, and a sustainable way to customize jackets, backpacks, hats, and other items using sew-on patches or DIY patch ideas.
How do I choose the right retro patches for my jacket or backpack?
Start with size and placement, then color harmony and theme. For durability, choose sew-on patches; for quick updates, iron-on patches work, but reinforce with stitches. Follow patch embroidery tips for a crisp, lasting finish.
What types of retro patches exist and how should I apply them?
Common options include sew-on patches, iron-on patches, woven patches, embroidered patches, and patches with vintage patina. Apply by sewing or heat-setting, and reinforce edges with stitching as part of patch embroidery tips.
What are some DIY patch ideas to build a cohesive retro look?
Explore mash-up designs, monochrome nostalgia, custom sketches and retro fonts, and upcycled memory boards. These DIY patch ideas pair well with nostalgic patches and vintage patch designs to tell a personal story.
How can I care for retro patches to keep them looking crisp?
Use patch embroidery tips: center, pin, stabilize, and sew edges securely. Wash on cold, inside-out, and avoid high heat. For iron-on patches, heat-set per instructions and then add a quick stitching pass for durability.
Where can I find high-quality retro patches and how should I evaluate them?
Look for vendors offering durable embroidery, clear vintage patch designs, and robust backing. Read reviews about sew-on patches vs iron-on, and explore vintage shops and online marketplaces to find nostalgic patches that fit your style.
| Aspect | Key Points |
|---|---|
| What they are | Retro patches are patches with nostalgic designs used to personalize gear and tell your story. |
| Allure and significance | Embroidery texture, color depth, and memory/identity cues give a tactile, lasting appeal beyond digital graphics. |
| Historical arc | From military and scout patches to fashion statements; today DIY culture makes patches widely accessible. |
| Staying power | Personalization, sustainability, and DIY crafting keep retro patches popular across ages and gear types. |
| Choosing patches | Consider item and vibe; size/placement; color harmony; theme/storytelling; backing method; quality. |
| Patch types | Sew-on, iron-on, woven, embroidered, and vintage-patina designs. |
| DIY ideas | Mash-ups, monochrome nostalgia, custom sketches/fonts, and memory-board layouts. |
| Embroidery tips | Prep fabric, stabilize, center/pin, choose needle/thread, stitch technique, edge finishing, reinforcement. |
| Applying to gear | Denim jackets, backpacks, hats, hoodies – different canvases require different patch layouts and stitching. |
| Care & maintenance | Gentle washing, spot cleaning, proper storage, and occasional re-sewing for longevity. |
| Finding patches | Vendors, vintage shops, craft stores, online marketplaces; consider bespoke options and reviews. |
| Putting it all together | Retro patches become wearable art—reflecting memories, identity, and personal craft on everyday gear. |
Summary
HTML table provided above summarizes key points about retro patches from the base content.