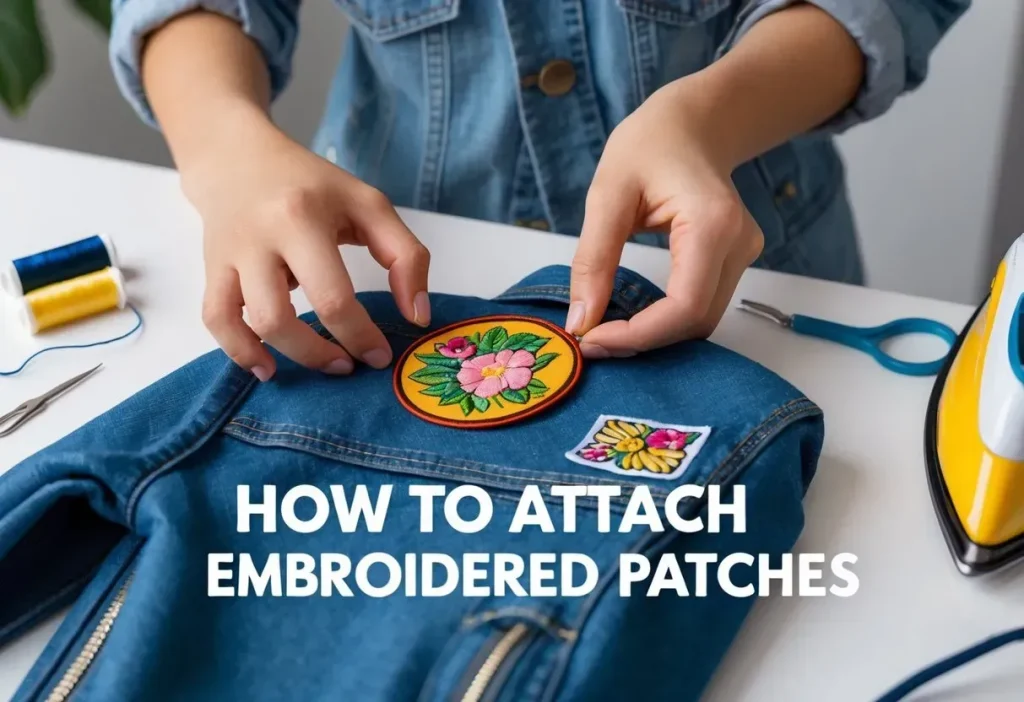
If you’re looking to attach embroidered patches, this friendly guide walks you through simple, durable methods that work on most fabrics, from sturdy denim to lightweight cotton, ensuring edges stay flat and colors stay vibrant after washing. Iron-on patches offer quick adhesion and a clean finish, while sewing patches provide long-lasting durability, especially on high-wear items like jackets, backpacks, jeans, and hats, so you can mix methods depending on fabric and design. A patch placement guide helps you plan exact positioning, mark carefully, and avoid placing patches over seams or high-friction areas, while considering sleeve curves, pocket placement, branding goals, color balance, and visibility. You’ll also learn how to heat-set patches correctly, whether you use a household iron or a heat press, with tips on preserving fabric texture and avoiding scorching, along with safety precautions for delicate materials. With clear, step-by-step instructions, practical checks, and care guidance, you’ll finish with a professional, durable look that stands up to washing and everyday wear, inspiring confidence in both crafters and beginners.
In other terms, decorative fabric badges, embroidered emblems, and adhesive-backed patches offer the same potential to personalize apparel or bags. The topic is rooted in patch application techniques—whether via heat-activated adhesives or stitching—that affect durability and appearance. Using related terms like applique accents, badge attachments, fabric adornments, and patch design guides helps search engines recognize the broader concept. By presenting these alternatives, you connect with different audiences while staying aligned with the core idea of decorating textiles.
Choosing Iron-On Patches vs Sewing Patches for Your Project
When you want a quick wardrobe update, iron-on patches offer speed and a clean finish, especially on sturdier fabrics. Sewing patches, on the other hand, provide long-lasting durability, making them ideal for items that endure frequent washing or stretch, such as jackets or bags. The best choice depends on fabric type, patch backing, and how you’ll care for the garment over time.
Consider combining methods for extra security: use heat-set adhesion for initial bonding and finish with edge stitching to prevent lift. Always reference a patch placement guide to keep edges flat and aligned, and test a small scrap to verify compatibility between the patch backing, fabric, and heat exposure. This thoughtful approach helps you maximize both appearance and durability.
The Patch Placement Guide: Ideal Locations and Positioning
A well-planned placement guide ensures patches look balanced and intentional. For most shirts and jackets, center-left chest placements provide a classic, visible focal point, while pockets can frame a design for a bold statement. For bags, backpacks, or hats, consider edge alignment and surface tension to prevent distortion during wear.
Always mark placement before attaching, using chalk or a fabric marker, and avoid covering essential details like seams, labels, or fasteners. For curved or irregular-shaped patches, position them to mirror the garment’s contours so the design sits naturally when worn. A thoughtful patch placement guide reduces shifting and creates a professional finish.
How to Attach Embroidered Patches: A Step-by-Step Iron-On Method
If you’re wondering how to attach embroidered patches, this iron-on method provides a quick path. Begin with a clean, dry surface free of oils. Preheat the iron to the patch backing’s recommended setting, typically medium to high heat with no steam, and place a barrier such as parchment paper over the patch.
Position the patch precisely, then press firmly for 30–40 seconds with even pressure and without sliding. After cooling, check the bond and re-press if needed. For extra security, you can sew a tight zigzag stitch around the edge or apply a satin stitch along the border to reinforce high-wear areas.
Sewing Patches for Maximum Durability on Various Fabrics
Sewing patches delivers maximum durability, especially on stretch fabrics or items that go through daily washing. Choose a suitable needle and thread color, and select a stitch style such as a basic running stitch, zigzag around the edge, or a contours-following satin stitch for better edge definition.
Adapt your technique to the fabric: denim and heavy canvas tolerate robust stitching, while knits benefit from a shorter stitch length and, if needed, a stabilizer. For leather or suede, work with low heat and consider matching the thread to the patch’s backing to avoid visible stitching that can irritate the surface.
Care and Maintenance After Attaching Patches
Post-attachment care helps extend the life of patches. For iron-on patches, wash on a gentle cycle with cool water and avoid high-heat dryer settings during the first few washes to prevent adhesive breakdown. If you use a heat-setting method, air drying is often the gentlest option.
Inspect patches after washing and re-secure any loose edges with light stitching if needed. Store garments flat or rolled to minimize creasing and preserve patch adhesion. Following these care steps helps maintain the appearance and durability of your patches over time.
Troubleshooting Common Patch Problems and Fixes
Even with care, patches can shift, lift, or overheat. Patch shifting is usually caused by insufficiently secured placement or inadequate heat; fix by re-positioning and using pins or a temporary adhesive spray before remounting. Edges lifting after washing can often be solved with a tighter edge stitch or a small dab of fabric glue under the edge before stitching.
Overheating patches can scorch fabrics or melt adhesives, so lower heat and use a barrier cloth when reworking affected areas. When the surface looks uneven, ensure the garment lies flat during application and re-iron without the patch to smooth the fabric first, then reapply. Testing heat on scrap fabric first helps prevent repeated errors.
Frequently Asked Questions
How can I attach embroidered patches to fabric for a secure, long-lasting finish using both iron-on patches and sewing patches?
To attach embroidered patches for a secure finish, you can use iron-on patches or sewing patches. Start with a clean, dry surface, test placement with pins, and use a barrier (parchment paper) under the patch. For iron-on patches, heat-set by pressing firmly with a hot, dry iron for about 30-40 seconds; avoid steam and let it cool. For extra security, sew around the edge with a tight zigzag stitch or satin stitch. This combination improves durability and keeps patches from lifting in wash.
What is a patch placement guide for placing embroidered patches on jackets, backpacks, hats, and other items?
A patch placement guide helps you position embroidered patches evenly on jackets, backpacks, hats, or jeans. Aim for a centered, balanced look—center left chest on shirts, patch pockets for symmetry, and avoid seams or folds where possible. For sleeves, place patches on the inner arm area and consider slightly bending the patch to follow the garment’s shape. Always test-fit with pins before final attachment.
How do I heat-set patches with iron-on backing to maximize adhesion across different fabrics?
When using iron-on patches, heat-set correctly by cleaning the surface, preheating the iron, placing a barrier, and applying steady pressure for 30-40 seconds. Use no steam and a heat setting that matches the patch backing instructions. Let cool completely before handling. If adhesion seems weak, re-cover and press again, or reinforce with a row of stitches.
Which sewing stitches work best when applying patches with sewing patches to denim, canvas, or leather?
When sewing patches, choose stitches that seal edges without bulk: a tight running stitch, a zigzag stitch around the edge, or a satin stitch closely contouring the patch. Use a sharp needle suited to the fabric (jeans needle for denim) and matching thread. Baste to prevent shifting, then sew around the perimeter, ending with a secure knot. On heavy fabrics, a locking stitch adds durability.
What tools and tips help you choose between iron-on patches and sewing patches for your project?
Tools and tips: for iron-on patches, ensure a compatible backing and use a heat press or iron with a parchment paper barrier. For sewing patches, have a sharp needle, appropriate thread, and choose a stitch type. Consider the patch design and fabric when deciding between iron-on patches and sewing patches; many crafters combine methods (iron-on for initial adhesion, then stitching). Always use a patch placement guide to plan placement.
How should I care for garments after attaching patches to keep them secure and extend patch life?
After attaching patches, wash gently in cool water and air-dry when possible to protect adhesive and stitches. If you must use a dryer, choose a low heat setting and shorter cycle. Inspect edges after washing and re-sew or re-adhere loose areas. With proper care, patches will stay secure and look neat over time.
| Topic | Key Points |
|---|---|
| Introduction and Purpose |
|
| Tools and Materials |
|
| Choosing the Right Method: Iron-On vs Sewing |
|
| Fabric Considerations |
|
| Preparation: Positioning and Marking |
|
| Iron-On Method: Step-by-Step |
|
| Sewing Method: Step-by-Step |
|
| Working with Different Fabrics: Tips |
|
| Common Mistakes and Fixes |
|
| Patch Placement Guide: Quick Reference |
|
| Maintenance and Care After Attachment |
|
Summary
Conclusion for attaching embroidered patches: This section summarizes the topic with a descriptive style, emphasizing how to attach embroidered patches effectively, combining iron-on and sewing techniques, choosing fabrics wisely, and caring for attached patches to ensure durability and lasting appearance.