Mastering custom patch sizing is about more than a look; it’s a strategic balance of visibility, legibility, and brand impact across a wide range of products, from athletic uniforms to corporate apparel, backpacks, and accessories, where even a small misstep can blur the logo, disrupt branding alignment, or weaken the garment’s overall presentation. From hats to jackets, the patch visibility scale guides decisions about scale, contrast, edge definition, border style, and typography as distance changes, because what reads crisply up close may vanish at a distance if you ignore the weave, backing, and fabric texture. Following patch size guidelines ensures legibility across applications, whether you’re aiming for an optimal patch size on a cap, a chest patch on a uniform, or a large emblem on outerwear, while considering the garment’s typical viewing angles, lighting, and user interactions such as fast-moving or gloved handling. When choosing embroidery patch size or woven alternatives, patch design sizing must account for stitch density, edge crispness, color management, texture, and how subtle gradients or fine lines translate into thread or weave, with an emphasis on maintaining a clean silhouette on curved surfaces and ensuring color saturation survives washing. Test patches at multiple scales on similar fabrics, review under real-world lighting conditions, and gather feedback from stakeholders—design, production, and marketing—to ensure the final sizing choice communicates your brand clearly from stadium seats to storefront displays, while leaving room for future product lines and cost considerations.
Put differently, this sizing challenge reads as badge sizing, emblem scale, or patch dimensioning—the art of deciding how large a symbol should appear on fabric so that it registers quickly without sacrificing fine detail. In LSI terms, you connect related concepts like visibility, readability, contrast, and production feasibility, using synonymous frames such as emblem proportion, logo footprint, or patch typography when briefing designers and suppliers. Consider placement and fabric as variables that influence the visual footprint; a small emblem on a cap or a large badge on a jacket behave like different canvases. This approach helps cross-functional teams speak the same language, ensuring requirements for edge smoothing, stitch count, and color saturation align with the intended perceived size. Ultimately, the goal is a coherent, scalable system where size choices support the brand story across products and channels.
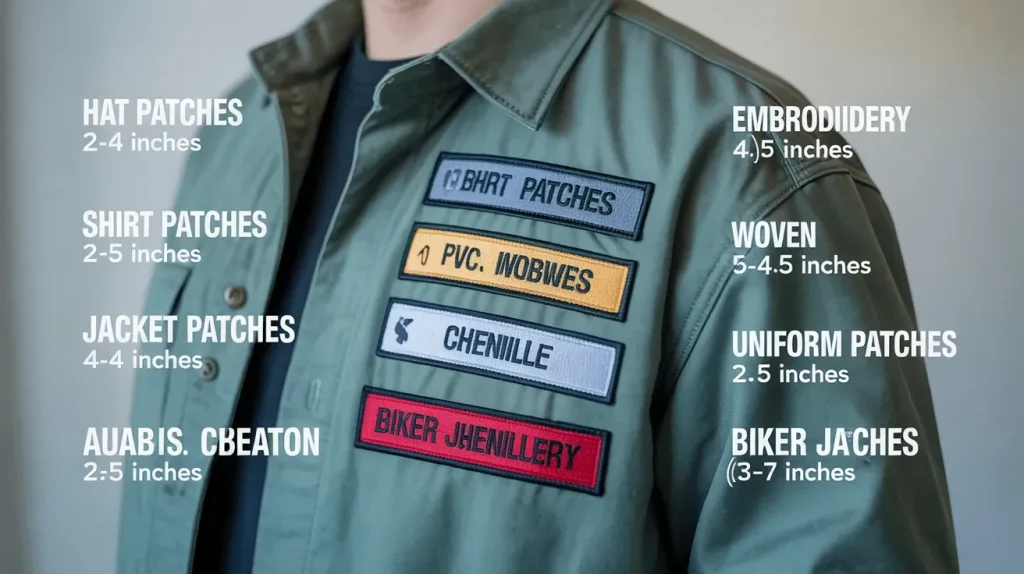
Understanding patch visibility scale and its role in sizing decisions
The patch visibility scale helps determine how large a patch should be based on where it will be viewed—from close-range details on a cap to distant recognition on a jacket. This scale guides the selection of the optimal patch size to preserve legibility and brand impact while avoiding overpowering the garment. It aligns with patch size guidelines by mapping viewing distance to design complexity, ensuring you don’t undercut important features in your artwork.
When you consider patch design sizing, you must balance aesthetics with practicality, ensuring features like typography or fine lines remain legible from the intended distance. Whether embroidery or weaving, the patch visibility scale informs decisions about scale, color contrast, and edge definition so that the final patch communicates clearly at the intended viewing point.
Practical patch size guidelines for common garment types
Hats, chests, sleeves, back patches—each category has starting ranges: hats 1.25 to 2.5 inches, chest patches 2 to 3.5 inches, hoodies 3 to 4.5 inches, and back patches 4 to 6 inches. Small accents and sub-brands are often under 1.5 inches. These figures serve as patch size guidelines, offering a solid baseline that can be refined with mock-ups.
Test patches at multiple scales on similar fabrics to verify legibility, edge crispness, and color saturation. The final optimal patch size emerges from balancing design density and available space for each garment category, ensuring the design remains clear without overwhelming the item.
Embroidery vs woven patches: aligning patch design sizing with fabric and stitch patterns
Embroidery patch size decisions require careful attention to stitch density. Moderate to high density is often needed for solid fills, but excessive density can blur detail on curved areas, so choosing the embroidery patch size that preserves edge definition is essential.
Woven patches offer crisper lines and can handle smaller sizes better in some cases, but very thin lines may thread away if not planned properly. Patch design sizing must account for these differences to maintain readability and minimize registration issues across different backing and fabric types.
Typography and readability: choosing fonts and layout by size
When a patch includes text, select bold, high-contrast fonts and keep wordmarks concise to preserve legibility as the patch scales. This touches on the concept of optimal patch size for typography and how patch design sizing affects readability at distance.
Use larger letterforms for primary messages, maintain ample spacing, and simplify details for smaller patches. The goal is legibility at distance, so plan font and layout before production to ensure the patch communicates your brand clearly.
From vector to stitch: designing with scale in mind
Start with clean vector art so the design scales without quality loss. As you move toward embroidery or weave, consider stitch density and how the chosen size affects texture and edge sharpness, aligning with embroidery patch size considerations.
Color management and palette choice become more important at smaller sizes. Fewer colors can improve readability and reduce registration errors, all part of refining patch design sizing to suit the intended patch size and production method.
Custom patch sizing for brand consistency and accessibility
Custom patch sizing should support consistent branding across product lines. By aligning patch sizes, you reinforce recognition and ensure that logos, initials, and symbols read correctly whether on caps, jackets, or bags, reinforcing a cohesive brand image.
Consider accessibility and production realities alongside aesthetics. Ensure legibility for a broad audience and account for backing types and minimum thread counts, tying back to patch size guidelines and the practical realities of embroidery and weaving under real-world conditions.
Frequently Asked Questions
What is custom patch sizing and how does the patch visibility scale guide it?
Custom patch sizing is choosing the patch’s overall dimensions to maximize visibility on a specific garment. The patch visibility scale connects viewing distance to legibility, helping you pick an optimal patch size that preserves readability and brand impact. Key terms such as optimal patch size, patch size guidelines, and embroidery patch size are considered in the sizing process.
How do I determine the optimal patch size for hats vs jackets within the custom patch sizing framework?
Place and viewing distance vary by garment, so use the patch visibility scale to choose an optimal patch size for each item. For hats, patches typically range from about 1.25 to 2.5 inches; jackets often use 2 to 3.5 inches for a clear silhouette. Consider embroidery patch size versus woven options and adjust patch design sizing to maintain legibility.
What are the patch size guidelines for different garment types in the context of custom patch sizing?
Use general patch size guidelines as a starting point: hats 1.25–2.5 inches, chest patches 2–3.5 inches, hoodies/jackets 3–4.5 inches, back patches 4–6 inches. The embroidery patch size versus woven styles may alter details, so tailor patch design sizing to maintain a sharp edge and readability.
How does typography affect patch sizing and readability in custom patch sizing?
Font choice and letter spacing directly impact legibility at smaller sizes. In patch sizing, prefer bold, high-contrast fonts and reserve larger text for primary messages; simplify design for small patches to preserve readability in embroidery patch size.
What steps should I take to test patch sizing before production?
Create mock-ups at 1x, 1.5x, and 2x the target size to compare legibility. Print scaling proofs on fabric swatches and run a mock embroidery sample to verify edge sharpness and color saturation. Use the patch visibility scale and patch size guidelines to decide on final sizing.
Should I offer multiple patch sizes for the same design within custom patch sizing?
Yes. Providing two sizes can cover different garment types and viewing distances. Use the patch visibility scale to decide which sizes to offer and ensure patch design sizing remains legible in both embroidery patch size and woven variants.
| Patch Sizing Aspect | Key Points |
|---|---|
| Purpose and goal | Choosing patch size affects visibility, legibility, and brand impact; it balances aesthetics with practicality. A patch visibility scale guides sizing to suit garments like uniforms, hats, backpacks, and jackets. |
| What is custom patch sizing? | Custom patch sizing means selecting overall dimensions (width, height, aspect ratio) to maximize visual impact for a specific placement and design complexity. Placement, text amount, and garment type (cap vs. jacket) dictate scale; a patch visibility scale links viewing distance to size. |
| Why patch visibility matters | Visibility is key for branding: too small can blur fine details; too large can overwhelm the item. Testing different scales helps keep typography legible across scenarios (stadium, workplace, online) and for varied end users. |
| Core factors that influence patch sizing | – Viewing distance: farther distance requires larger patch for legibility; high-contrast colors help but size matters for fine details – Content density: more text or intricate artwork needs more space – Font and line work: small fonts or hairlines vanish when reduced; plan for bolder typography – Stitching method and fabric: embroidery needs balanced stitch density; woven patches offer crisper lines but have constraints – Shape and border: circular patches read quickly at small sizes; complex shapes may need more space |
| Practical patch size guidelines by category | Hats and caps: 1.25 to 2.5 inches; Uniform logos: 2 to 3.5 inches; Hoodies/jackets: 3 to 4.5 inches; Back patches/large branding: 4 to 6 inches; Small accents: under 1.5 inches |
| Typography and wordmark adjustments | Short wordmarks scale well; longer names require careful font and spacing. Use bold, high-contrast fonts for readability at distance; emphasize primary messages with larger text; avoid very thin/decorative fonts; consider simplifying designs for smaller patches. |
| Designing with scale in mind: vector to stitch | Vector art scales cleanly for embroidery/weave. Embroidery needs moderate-to-high stitch density but avoid over- or under- density. Woven patches provide crisper lines at small sizes but have their own constraints. Plan color management to reduce errors at smaller scales. |
| Quality checks and testing strategies | Create mock-ups at 1x, 1.5x, and 2x; print scaling proofs on fabric; run a mock embroidery at target size to verify legibility and edge sharpness; consider garment color and contrast for readability. |
| How to determine your optimal patch size in practice | 1) Define garment and placement; 2) List design elements; 3) Choose a sizing baseline; 4) Create design variants (2x and 3x); 5) Verify on real garments; 6) Decide on variants to accommodate different garment types. |
| Extra considerations for patch sizing decisions | Brand consistency across product lines; accessibility/readability for broad audiences; production constraints (minimum thread counts, backing types); environmental/usage context (outdoor gear, sunlight exposure). |