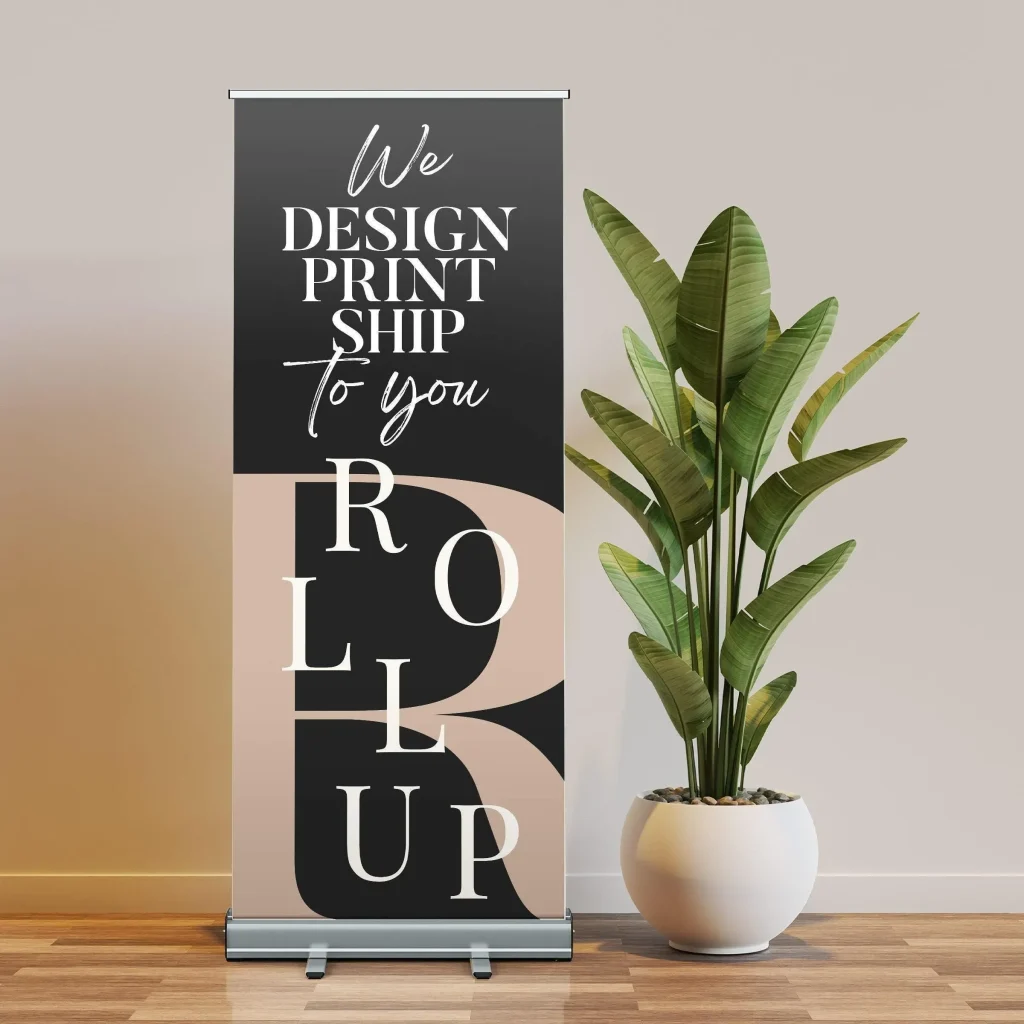
Custom Roll-Up Banner solutions offer a compact, portable way to showcase your brand at events, trade shows, retail spaces, and corporate gatherings, delivering a visually compelling introduction that draws attendees toward your booth with minimal setup effort. Designed with quick deployment in mind, these banners distill your message into a single, eye-catching image that can be set up and retracted in minutes, while a slim carrying case and ergonomic hardware reduce fatigue for staff during busy show days. To maximize impact, consider principles from custom roll-up banner design, ensuring bold headlines, high-contrast visuals, a clear call-to-action, and carefully chosen supporting graphics that read effectively from several meters away, even in noisy or dim exhibit environments. Selecting options such as roll up banner printing quality, banner stand dimensions for standard booths, and roll up banner material options (vinyl, fabric, PVC) helps balance aesthetics, durability, and transportability, while choosing finishes like matte or gloss to manage glare and ensure legibility under venue lighting. For cost-effective campaigns, look at short-run banner production and batch printing strategies that keep quality high while allowing rapid, iterative updates to messages aligned with product launches or seasonal campaigns, and leverage vendor proofs to avoid color drift, this approach also supports testing different headlines, colors, and calls-to-action before committing to a larger run, enabling smarter budgeting and faster market feedback.
Beyond traditional signage, many marketers refer to this type of display as a pull-up banner or portable signage system, prized for its simplicity and consistent branding on the go. In booth design terms, these retractable displays function as a lightweight exhibition display that anchors your message and imagery without crowding the space. The right display stand, graphic, and fabric or vinyl finish create a cohesive brand impression at conferences, product launches, and retail activations. When planning, think of it as a modular advertising solution: quick to deploy, easy to replace graphics, and adaptable to different venues and audience sizes.
Custom Roll-Up Banner Design: Aligning Concept, Audience, and Brand
A strong Custom Roll-Up Banner starts with a clear concept and a well-defined audience. By focusing on the primary message and the action you want viewers to take, you can shape visuals, copy, and structure that resonate in busy show-floor environments. When you engage in custom roll-up banner design, ensure the concept aligns with your brand kit—consistent logo usage, color palette, typography, and a concise tagline—to create an instantly recognizable identity. Remember that roll-up banners are viewed at speed from a distance, so clarity and immediacy trump nuance.
In practice, this means prioritizing a single focal point, bold headlines, and high-contrast imagery. The design should support a clear call-to-action (CTA) and be easily legible from several meters away. By incorporating your brand assets early—logo placement, color codes, and font choices—you set the foundation for a cohesive suite of banners and a consistent attendee experience across different event settings.
Banner Stand Dimensions and Orientation: Selecting the Right Size for Impact
Choosing the right size begins with banner stand dimensions and the layout of your space. The most common roll-up banner sizes are 33 inches wide by 80 inches tall (the 33×80 format) and taller options around 85 inches. Portrait orientation is standard because it maximizes vertical impact and aligns with typical sightlines at events. When planning multiple banners, setting uniform dimensions helps create a clean, cohesive booth wall and simplifies transport and setup.
Consider your venue’s floor plan, crowd flow, and the distance from which attendees will view your banner. Plan margins carefully, ensuring that key messages stay within a safe, visible zone. Bleed, safe areas, and alignment across banners contribute to a polished look, while a consistent waistband of graphics helps your display feel intentional rather than piecemeal.
Roll Up Banner Material Options and Finishes: Balancing Durability and Look
Material options play a pivotal role in durability, print quality, and the overall feel of your banner. Roll up banner material options typically include vinyl for durability and strong color saturation, fabric (such as polyester) for a premium, wrinkle-resistant finish, and PVC in some long-term installations. Each material has a distinct look and weight that affects transport and setup, so match your choice to the event environment and audience expectations.
Finishes further influence readability and perception. A matte finish reduces glare and enhances legibility under bright lighting, while a gloss finish can boost color vibrancy in controlled spaces. Anti-scratch coatings extend the banner’s life in busy environments with frequent handling. If you expect frequent use, choose a material and finish that balance appearance with practicality.
Printing Methods, Color Management, and Color Consistency: Ensuring Brand Fidelity
Selecting the right printing method is essential for color accuracy, durability, and cost. Common options include solvent or eco-solvent printing for vinyl banners, UV printing for fabrics and rigid substrates, and dye-sublimation for fabric-based displays. Each method has trade-offs in terms of color vibrancy, weather resistance, and texture, so pair your choice with the expected venue conditions and maintenance window.
A color-managed workflow is critical to maintain brand fidelity across devices and prints. Use ICC profiles, soft-proofing, and hard proofs when color precision matters for brand colors or specific product visuals. By coordinating color spaces from designer to print shop, you help ensure the final banner looks the same on the show floor as it does on deadlines and proofs.
Artwork Preparation, Files, Bleed, and Typography: Ready-to-Print Specifications
Successful banners start with properly prepared artwork. Use vector-based files (AI, EPS, PDF) for logos and bold typography, and high-resolution raster images (150–300 DPI at final print size) for photographs. Include a 0.125–0.25 inch bleed and keep essential elements at least 0.25–0.5 inches from the trim to avoid cropping.
Typography matters from a distance. Choose legible fonts, embed or convert fonts to outlines, and size text so headlines are readable within the viewing range. If brand colors must be exact, provide Pantone references and ensure your color profiles are calibrated. A well-prepared file streamlines roll up banner printing and reduces the risk of substitutions during production.
Production Timeline, Costs, and Short-Run Banner Production Strategies For Fast Deployment
Understanding production timelines and cost drivers helps you plan events more effectively. Typical steps include finalizing design, pre-press proofs, printing, finishing, and packaging, with times ranging from a few days to a couple of weeks depending on material choice and quantity. Short-run banner production can offer flexibility for testing campaigns or event-specific promotions without committing to large inventories.
Budget considerations vary with material choice, print method, and finishing options. Fabric banners may cost more upfront but offer longer life and a premium feel, while vinyl often provides cost-effective, durable results for high-traffic venues. For frequent event calendars, assemble a small library of consistent, on-brand banners to optimize cost-per-use and streamline future reorder cycles.
Frequently Asked Questions
What is a Custom Roll-Up Banner and how can it boost event marketing?
A Custom Roll-Up Banner is a portable, branded display that conveys a single, impactful message quickly. It leverages roll up banner printing to deliver vibrant visuals on a lightweight stand, with banner stand dimensions designed for fast setup and cohesive booth aesthetics.
How do I choose the right banner stand dimensions for a Custom Roll-Up Banner?
Start with your booth space and sightlines. The most common banner stand dimensions are 33×80 inches (33×80) or about 85 inches tall. Use a portrait orientation and maintain uniform banner stand dimensions when placing multiple banners for a consistent display.
What are the roll up banner material options for a Custom Roll-Up Banner?
Roll up banner material options typically include vinyl for durability and color, and fabric for a premium, wrinkle-resistant look. PVC and PET variants are available for specific needs. Choose finishes (matte for readability or gloss for vibrant color) based on lighting and venue.
Which printing method works best for a Custom Roll-Up Banner?
Printing methods like solvent/eco-solvent printing (great for vinyl), UV printing (robust color and edge sharpness on fabrics or rigid substrates), and dye-sublimation (excellent for fabrics) are common. Each method affects color management, durability, and cost.
How should I prepare artwork for a Custom Roll-Up Banner design?
Provide vector files (AI, EPS, PDF) for logos and crisp typography, plus high-resolution images at 150–300 DPI at final size. Include a 0.125–0.25 inch bleed, keep essential elements 0.25–0.5 inches inside the trim, and embed fonts to ensure accurate rendering in roll up banner printing.
What is the typical timeline and cost for short-run banner production of a Custom Roll-Up Banner?
Plan 1–3 days for design proofing, 2–5 days for printing and finishing, and 1–3 days for packaging/shipping. Costs vary by size, material, print method, and finishing options. Short-run banner production often benefits from templated assets to speed turnaround.
| Section | Key Points | Practical Tips |
|---|---|---|
| 1) Define the concept and target audience |
|
|
| 2) Determine banner stand dimensions and orientation |
|
|
| 3) Material options and finishes |
|
|
| 4) Printing methods and color management |
|
|
| 5) Artwork preparation: files, bleed, fonts |
|
|
| 6) Proofing and quality checks |
|
|
| 7) Production timeline and costs |
|
|
| 8) Shipping, installation, and maintenance |
|
|
| 9) From concept to final product: a streamlined workflow |
|
|
| Applications and benefits |
|