Iron-on patches have transformed how we mend and customize clothing, delivering a quick, durable way to refresh a favorite piece. If you want to know how to apply iron-on patches, and you’re curious about choosing patches for clothing, this guide walks you through selecting fabrics, designs, and durability. You’ll learn practical care for iron-on patches to keep colors bright and the adhesive strong through regular washing. We also cover best practices for washing and drying iron-on patches so you can plan for a garment that stays looking its best over time. By the end, you’ll feel confident selecting, applying, and maintaining patches that fit your personal style.
A different take on fabric embellishment, heat-activated patches offer a simple route to personalizing jackets, jeans, and bags. These adhesive-backed fabric badges bond with heat, serving as affordable, reversible décor that suits many fabrics. Think of them as fabric appliques, garment decals, or decorative patches that attach without sewing. Latent Semantic Indexing (LSI) approach uses related terms like garment embellishments, wearable badges, heat-activated labels, and textile decals to capture a broader search intent. With the right technique and care, you can experiment with placement, texture, and color to refresh your wardrobe.
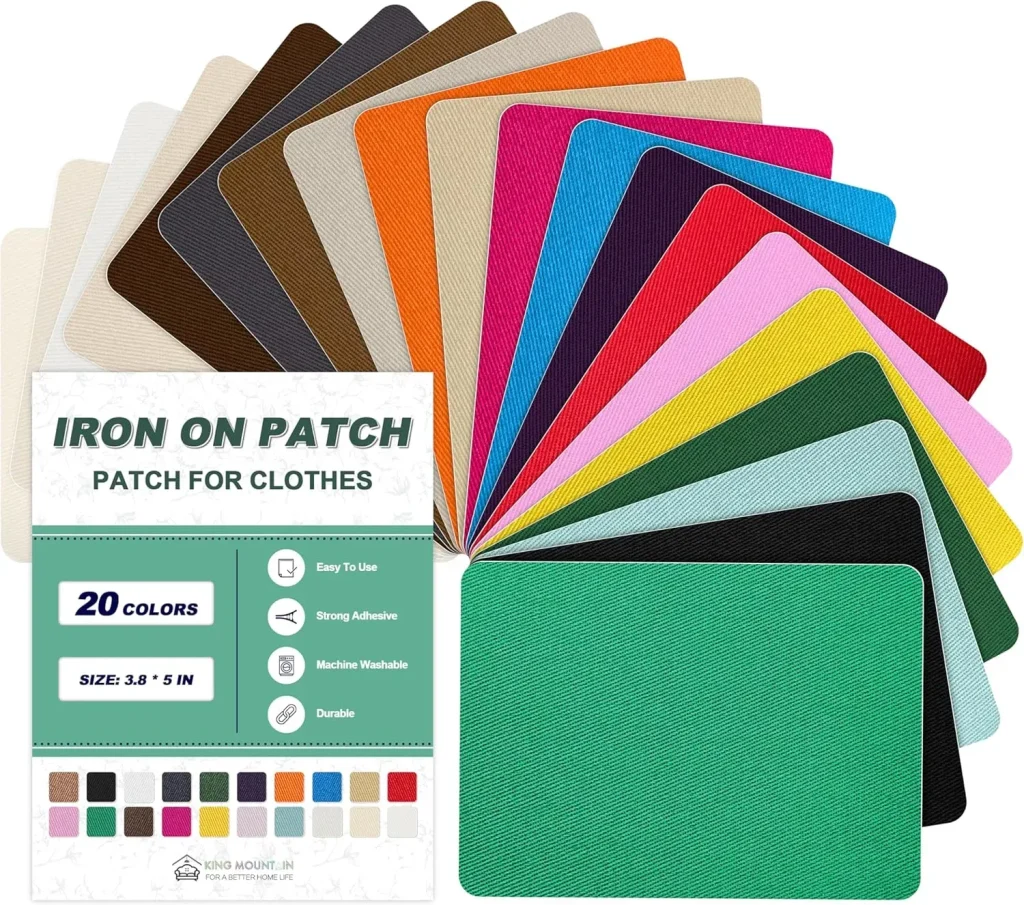
Choosing the Right Patches for Clothing
When selecting patches for clothing, start by matching patch options to your fabric, style, and care expectations. Consider fabric compatibility to ensure the heat-activated adhesive bonds well without damaging the material, and think about how the patch design and size will interact with existing patterns and colors.
Additionally, evaluate adhesive quality, edge finishing, and colorfastness. For fabrics that endure frequent washing or rough wear, choose patches labeled for machine washing and higher durability. Finely finished edges and colorfast dyes help maintain a polished look after application and over time.
How to Apply Iron-On Patches: A Step-by-Step Approach
Getting a strong bond begins with proper preparation. Start by washing and drying the garment to remove finishes that could interfere with adhesion, then place the patch where desired on a clean surface. Pin it if needed to prevent shifting while you work.
Protect the fabric with a thin pressing cloth, then apply heat and pressure using a high-heat setting suitable for the garment (no steam). Hold the iron in place for 15 to 30 seconds, test the bond after cooling, and reapply if any edge lifts. For extra security, sew around the edges after heat bonding.
Care for Iron-On Patches: Practical Maintenance
To maximize adhesion and color, follow care guidelines tailored for iron-on patches. Turn the garment inside out before washing, use cold or warm water on a gentle cycle, and avoid harsh detergents that can weaken the glue.
When possible, air dry to preserve the adhesive. If a dryer is necessary, use a low heat setting and remove promptly. For delicate fabrics, hand washing and line drying can extend the life of both the patch and the garment.
Washing and Drying Iron-On Patches: Best Practices
A careful washing routine helps maintain patch integrity. Turn the garment inside out, use a gentle cycle, and avoid bleach or aggressive cleaners that could degrade the glue or fade colors.
Drying should be gentle—air drying is ideal, or a low heat setting if using a dryer. Avoid direct ironing over the patch after application unless the product guidelines permit it, and test a hidden area first if you must press again.
Troubleshooting Common Issues with Iron-On Patches
Peeling edges are a common concern. Reheat with a pressing cloth and apply a shorter duration of heat, then add a secure stitch around the edge to prevent future lifting.
If a patch wrinkles after washing or fails to stick on synthetic fabrics, try a higher heat, longer press time, or a small amount of fabric glue along the edges, followed by sewing for extra security.
Creative Styling and Longevity Tips for Iron-On Patches
Iron-on patches unlock creative possibilities: layer clusters on pockets, sleeves, or shoulders to create a vintage or playful vibe. Mix shapes, colors, and textures to achieve depth and visual interest.
Beyond looks, think about longevity: vary your patch choices with themes (music, travel, nature) and combine patches with embroidery for texture. Regularly inspect and reseal patches after washes to keep your wardrobe looking fresh and cohesive.
Frequently Asked Questions
What are iron-on patches and why are they a good option for clothing?
Iron-on patches are fabric patches with a heat-activated adhesive on the back. They let you repair, decorate, or personalize clothing quickly without sewing, making them a popular choice for DIY style. They work best on cotton and denim and can be applied to many fabrics with proper heat and prep.
How to apply iron-on patches correctly?
Prepare the garment by washing and drying first. Position the patch, place a thin pressing cloth over it, and set your iron to a high heat appropriate for the fabric (no steam). Press firmly for 15 to 30 seconds without moving the patch. Let it cool and test the bond; if needed, re-press for another 10 to 15 seconds. For extra security, sew around the edges with a zigzag stitch.
How to choose patches for clothing that fit your fabric, style, and care expectations?
Choosing patches for clothing involves considering fabric compatibility, patch design and size, adhesive quality, colorfastness and edges, and your care expectations. Natural fibers like cotton or denim take heat glue well; smaller patches suit elbows or pockets, larger patches make a bold statement; look for fabric-friendly, durable adhesive and clean edges to ensure longevity and easy care.
What are the best practices for caring for iron-on patches to maximize their longevity?
Care for iron-on patches by turning the garment inside out before washing, using cold or warm water on a gentle cycle, and avoiding harsh detergents. Air dry when possible; if using a dryer, choose a low heat setting and remove promptly. Avoid ironing directly over the patch unless guidelines permit it; if needed, re-seal with a light press after washing to maintain adhesion.
What should you know about washing and drying iron-on patches to avoid damage?
For washing and drying iron-on patches, turn the garment inside out to reduce abrasion, use cold or warm water on a gentle cycle, and avoid chlorine bleaches. Use mild detergents and avoid hot water. Dry flat or on low heat, and remove promptly. Do not iron directly over the patch after application unless recommended. If the patch loosens, reapply heat with a pressing cloth and consider re-sewing for security.
What are common issues with iron-on patches and how can you troubleshoot them?
Common issues include peeling edges, patch wrinkles after washing, or poor adhesion on synthetic fabrics. Troubleshooting tips: reapply heat for a shorter duration and then sew around the edges for extra security; if wrinkles occur, reheat with a pressing cloth and press to smooth; for synthetic fabrics, try a higher heat or longer press time and, if needed, apply a small amount of fabric glue and finish with sewing; for curved seams, re-align and re-press, using a curved pressing tool to distribute heat evenly.
| Aspect | Key Points |
|---|---|
| Fabric compatibility | Natural fibers like cotton and denim handle heat glue well; synthetics (polyester/blends) can work but glue may be more heat-sensitive. For delicate fabrics (rayon/silk), use a pressing cloth and lower heat. |
| Patch design and size | Small patches (1–2 inches) suit elbows/pockets; larger patches make a bold statement on jackets/bags. Shapes (round, star, irregular) affect vibe; consider interaction with existing patterns/colors. |
| Adhesive quality | Look for fabric-friendly, heat-activated glue that bonds well to clothing. Some patches have easy-to-peel backings; others have durable adhesive for frequent washing. For heavy wear, choose patches labeled high durability. |
| Colorfastness and edges | Ensure dye won’t bleed in the first wash for white/light-colored patches. Finely finished edges reduce fraying and improve appearance after application. |
| Longevity and care expectations | If worn or washed often, select machine-washable and dryer-friendly patches. Ensure patch material/backing aligns with your care routine. |
| How to apply (preparation) | Wash and completely dry the garment; smooth wrinkles. Pre-press the area where the patch will sit to help adhesion. |
| How to apply (positioning) | Place the patch where desired; pin if needed to prevent shifting during application. |
| How to apply (protection) | Cover the patch with a thin pressing cloth or cotton towel to protect fibers and prevent glue from sticking to the iron. |
| Heat and pressure | Use high heat appropriate for the fabric (e.g., cotton settings for cotton/denim); do not use steam. Press firmly for 15–30 seconds; do not move the iron. Let cool and test bond. |
| Edge finishing | For extra security, sew around edges with a zigzag or invisible stitch, especially in high-wear areas. |
| Alternative tools | A heat press can yield stronger bonds on thick fabrics; a household iron plus pressing cloth is usually sufficient. |
| Care & maintenance | Turn garment inside out when washing; use cold/warm, gentle cycles; avoid harsh detergents. Air dry; if using a dryer, use low heat. Do not iron directly over patch unless guidelines permit. |
| Color & finish care | Colors may fade with washing and sun exposure. Store garments away from direct sunlight to preserve vibrancy; avoid bleach near patches. |
| Troubleshooting | Peeled edges: reheat and re-sew; wrinkles after wash: reheat with cloth; patch not sticking on synthetics: higher heat or longer press; patch slipping on curves: re-align and reheat. |
| Creative ideas | Layer patches in clusters, theme-based sets, or mix with embroidery. Patched fabrics include denim, canvas, and fleece; patches can adorn hats, backpacks, or sneakers. |
| Maintaining a fresh look | Inspect patches regularly, reapply heat if needed, turn garments inside out before washing, and reseal with a light press after hot washes. |
Summary
Iron-on patches are an accessible, creative, and durable option for modifying clothing. By choosing patches for clothing that suit your fabric and lifestyle, applying them with proper heat and pressure, and following care guidelines for washing and drying, you can enjoy stylish garments that last. With a little planning and care, iron-on patches become not only a repair solution but a lasting fashion statement that reflects your personality and creativity.